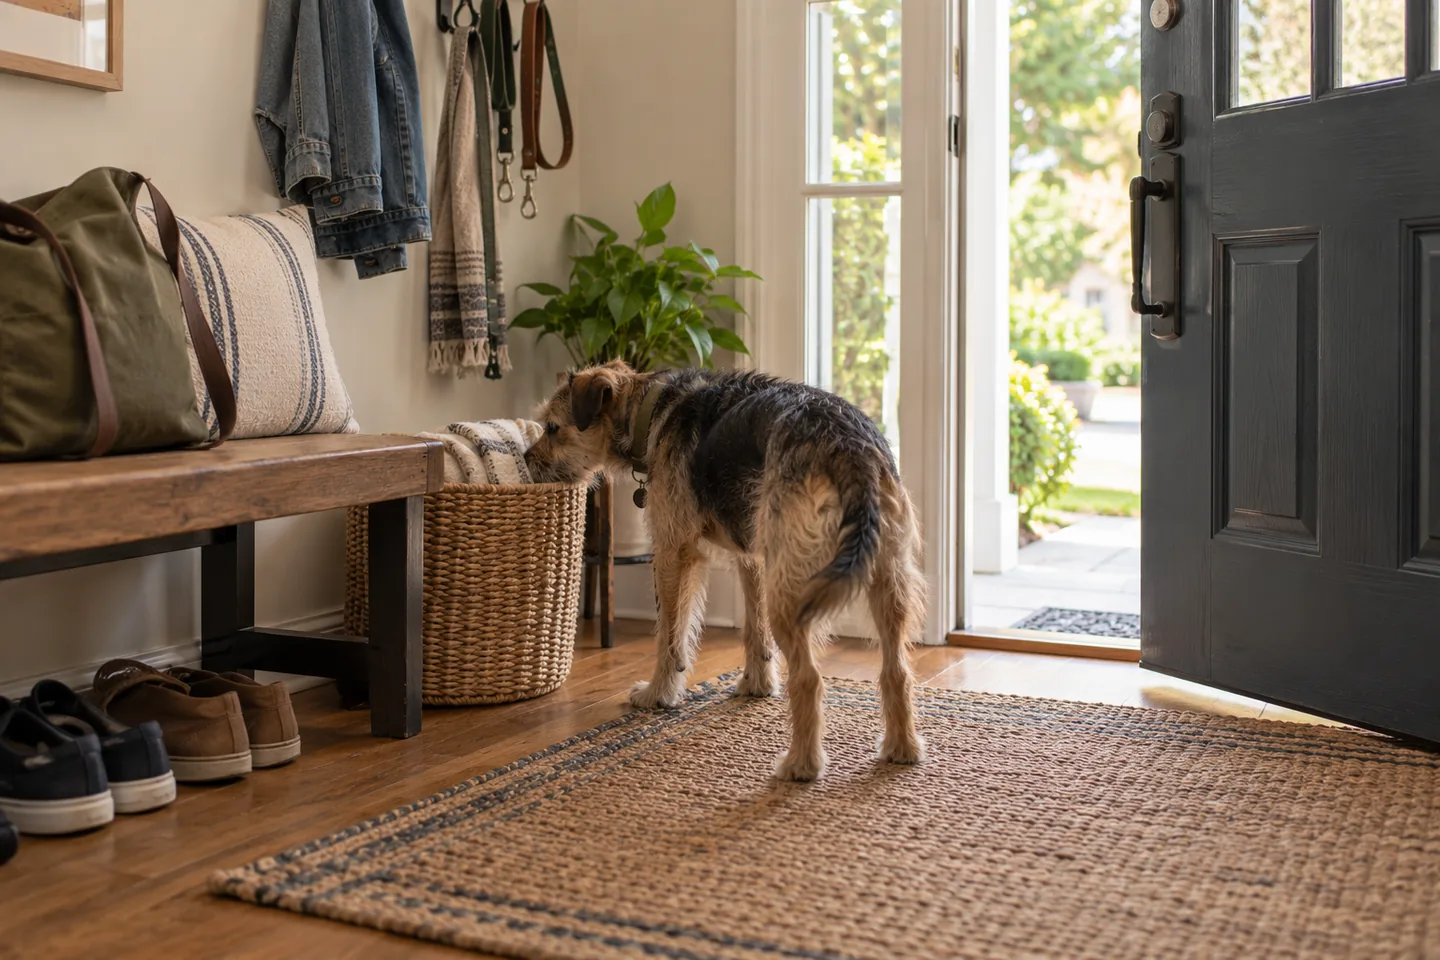
Choose the storage before the matching set
Hanging gear
Hooks make everyday gear easy to grab and leave the floor available. A rail keeps several items together, but separate hooks give you more control over spacing. Hang the actual leash and straps before settling on a location; loaded hooks reach farther into the room than empty ones. Keep them clear of door handles and drawers.
A tray for wet items
An existing boot tray may do the job. Measure its outside edges and make sure you can lift it without tipping its contents. Check the rim height if it will sit under furniture.
Spare bags and occasional gear
Use a small basket on an existing shelf before buying a storage unit. Open storage is easy to reach; a drawer hides the jumble but needs space to open. Measure the shelf's usable interior and the basket's handles. Keep clean textiles separate from wet gear, with somewhere to hang damp items rather than stuffing them into the basket.
WeatherTech BootTray, Grey, 36 × 16 in
For a longer wet-gear spot, compare the gray WeatherTech BootTray. Its listed 36 × 16 in footprint gives you a rectangle to mark beside the door before ordering.
It is not the narrow-hall drawing's 12 × 30 in tray. Check the actual rim height and lifting space; skip this option if it crowds the doorway.
Four ways to arrange the entry
Choose the layout closest to your room, then check its storage depth against your own measurements. The plans show example rooms and furniture, not specific products. Each marks a 36 in unoccupied floor width; that is a measurement in the drawing, not a universal clearance or accessibility standard. Your doorway and household traffic may need a different arrangement.
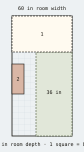
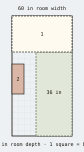
Narrow hallway
Tray against the left wall, beyond the entry-door reserve.
- Front-door operating reserve: 60 × 36 in
- Tray below gear hooks: 12 × 30 in
Unoccupied floor width: 36 in. An example measurement, not a clearance standard.
Keep this setup small: hooks and a slim tray beyond the front door's opening area. The 60 × 120 in example hall has a 12 × 30 in tray against the left wall, a 12 in gap and a separate 36 in floor strip. The front-door operating area is 60 × 36 in, not a measured door swing. If your hall is tighter, move the tray elsewhere rather than squeezing past it every day.
Before you put up the hooks
Check the wall surface, the loaded gear's weight and the hardware instructions. Adhesive hooks may avoid holes, but they can still lift paint or damage finishes. Follow the exact product's installation and removal directions and, if you rent, your lease requirements.
Freestanding storage avoids mounting a rail, but furniture may still require anchoring. Follow its manufacturer's instructions. Hooks and furniture are for storing gear; they are not tie-off points or barriers for an animal.
Try the setup before checkout
Mark its full depth
Use paper or removable tape suitable for your floor finish to mark the furniture and tray. Include projecting handles and open drawers. Open the front door fully and keep its operating area clear; remove the mock-up if it becomes an obstruction.
Make an ordinary trip through the door
Carry your usual bags and check whether someone else can pass. Leave room to bend down for the tray and reach the hooks. A layout that works only when everyone stands still needs another pass.
Rehearse the cleanup
Lift out the tray, remove the basket and find a spot for damp textiles. If you must move the console to clean underneath, choose something easier to reach or reduce the setup. Buy the missing piece after this trial, whether that is one hook or a better-fitting tray.